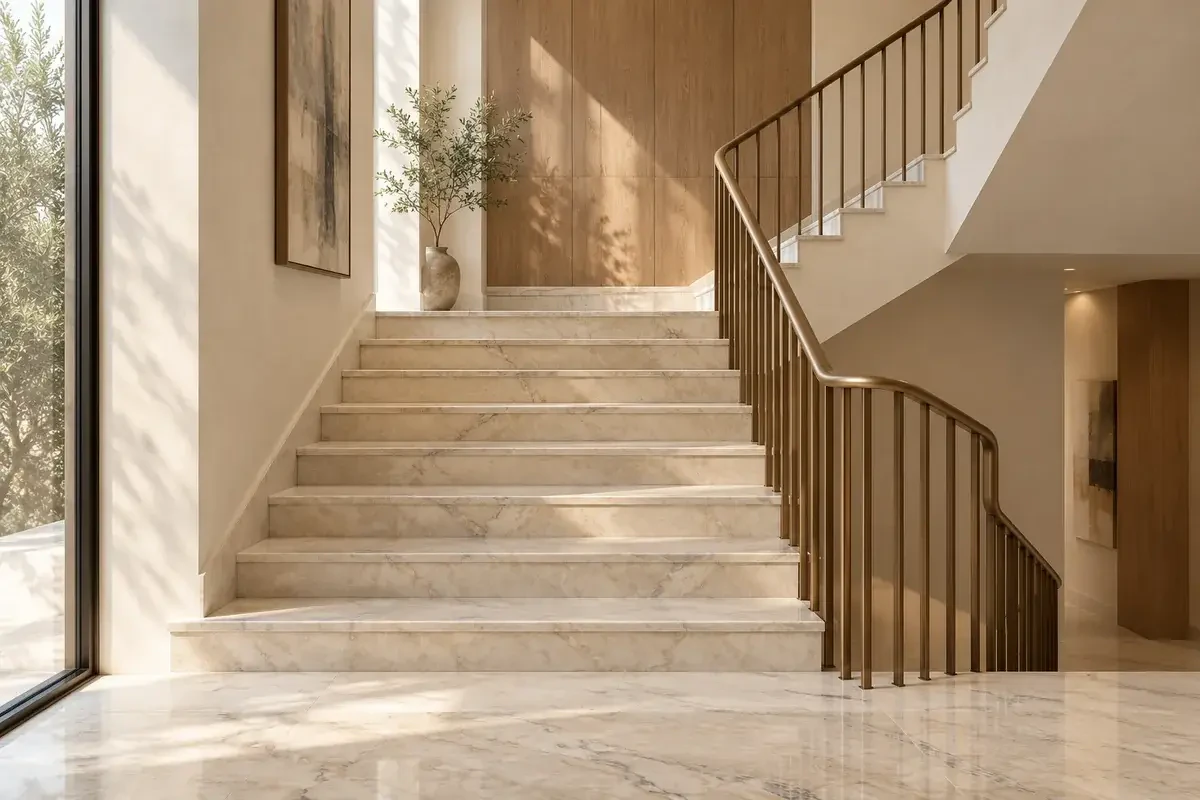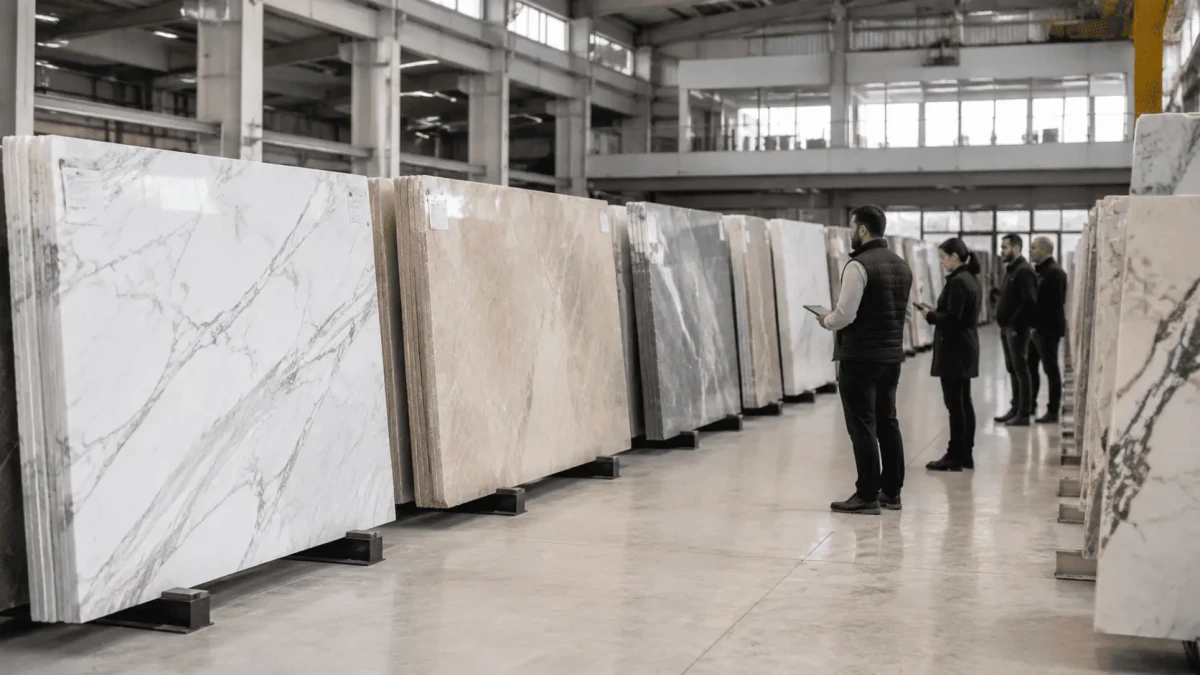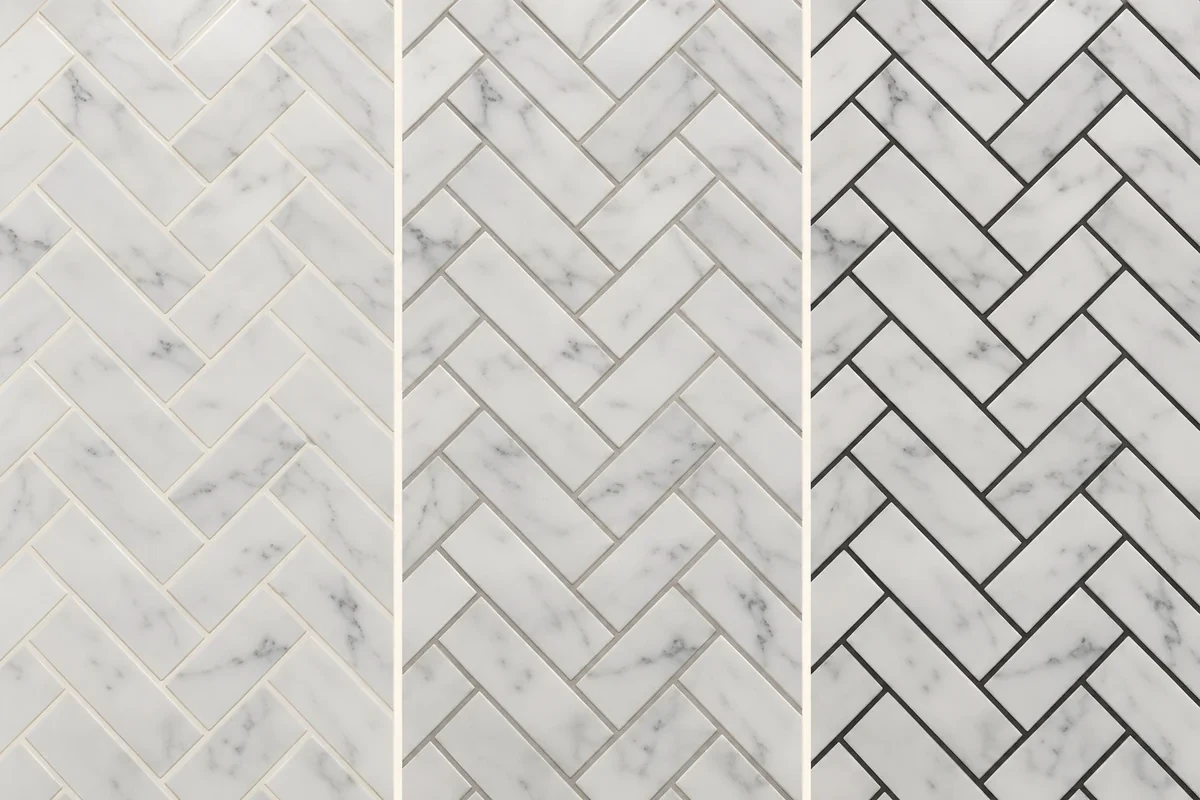
Choose grout color for marble mosaic tiles according to the effect you want: a close color match softens the joints, while a contrasting shade makes each piece more distinct. The final decision should also account for the marble’s undertone, pattern, finish and intended application.
A loose mosaic sheet cannot show the complete result. Before approving the grout, prepare a sample board using the actual stone and proposed installation materials. Review it after the grout has dried under conditions representative of the project.
Why Grout Color Matters in Marble Mosaics
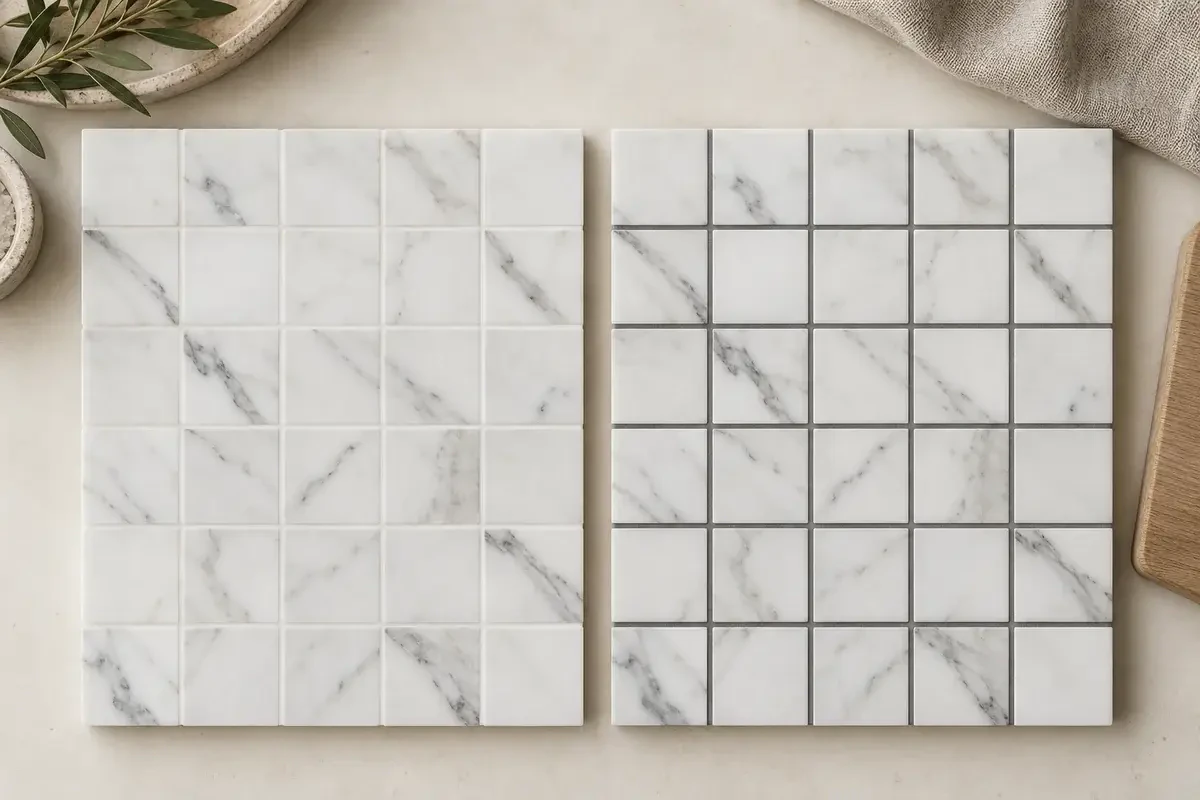
Mosaics contain many small pieces, so the joints form a visible part of the overall surface. A change in grout color can alter how clearly you see the pattern, individual shapes and natural stone variation.
For example, pale grout beside white marble can produce a softer composition. A darker joint can emphasize the same mosaic’s geometry, making a herringbone or basket weave pattern more noticeable.
Start by deciding what should attract attention: the stone, the pattern or both. This gives you a clearer basis for comparing grout samples.
Matching vs Contrasting Grout Color
A grout color does not need to be identical to the marble to create a coordinated result. Consider how closely it relates to the stone’s background color and markings.
| Approach | Intended visual effect | What to assess |
|---|---|---|
| Close match | Softens the distinction between pieces | Whether the pattern remains as visible as intended |
| Gentle contrast | Defines the layout without dominating it | The balance between joints and natural veining |
| Strong contrast | Emphasizes individual shapes and geometry | Whether the joint network becomes too prominent |
| Coordinated with an accent | Connects grout with a secondary stone color | Whether the accent remains distinct |
These are design approaches rather than fixed rules. Test more than one option if the mosaic contains several colors.
Matching Grout for a Quieter Surface
A close match can suit interiors where the mosaic should read as a continuous decorative surface. It allows natural markings to remain prominent while reducing the visual separation between pieces.
However, matching the lightest part of one tile may not represent the entire mosaic. Review several sheets to identify the dominant background tone.
Contrasting Grout for a Defined Pattern
Contrast can make a layout easier to read from across the room. It is useful when the geometry is central to the design.
Strong contrast also makes variations in joint spacing more noticeable. Include sheet-to-sheet connections in the sample so you can assess the overall installation.
Choosing Grout for White, Beige and Dark Marble
Begin with the marble’s undertone rather than its broad color category. Two stones described as white may need different grout colors.
White Marble Mosaics
White marble may contain warm cream, cool gray or other subtle undertones. Bright white grout can make an off-white stone appear warmer, while a gray joint may draw attention to its veining.
Compare a warm off-white, a neutral pale shade and a light gray where appropriate. For a product-specific starting point, review the Snow White Honed Diagonal Basket Weave Marble Mosaic alongside physical grout samples.
Avoid approving grout from a screen image alone. Camera settings, lighting and displays can change how both materials appear.
Beige Marble Mosaics
For beige marble, compare cream, sand and warm neutral shades. A grout that looks neutral on its own may appear pink, yellow or gray beside the stone.
Place the mosaic near the intended timber, paint and metal finishes. This helps determine whether the grout connects the materials or introduces an unwanted color.
Gray and Dark Marble Mosaics
A lighter grout can create a clear outline around dark pieces. A closer match can make the composition feel more unified.
Neither approach guarantees easier maintenance. Grout formulation, application conditions and cleaning practices should be assessed separately from color.
For a gray stone example, consider the New Tundra Gray Honed Basket Weave Marble Mosaic. Compare its background and markings with the proposed joint color.
How Mosaic Patterns Affect Grout Selection
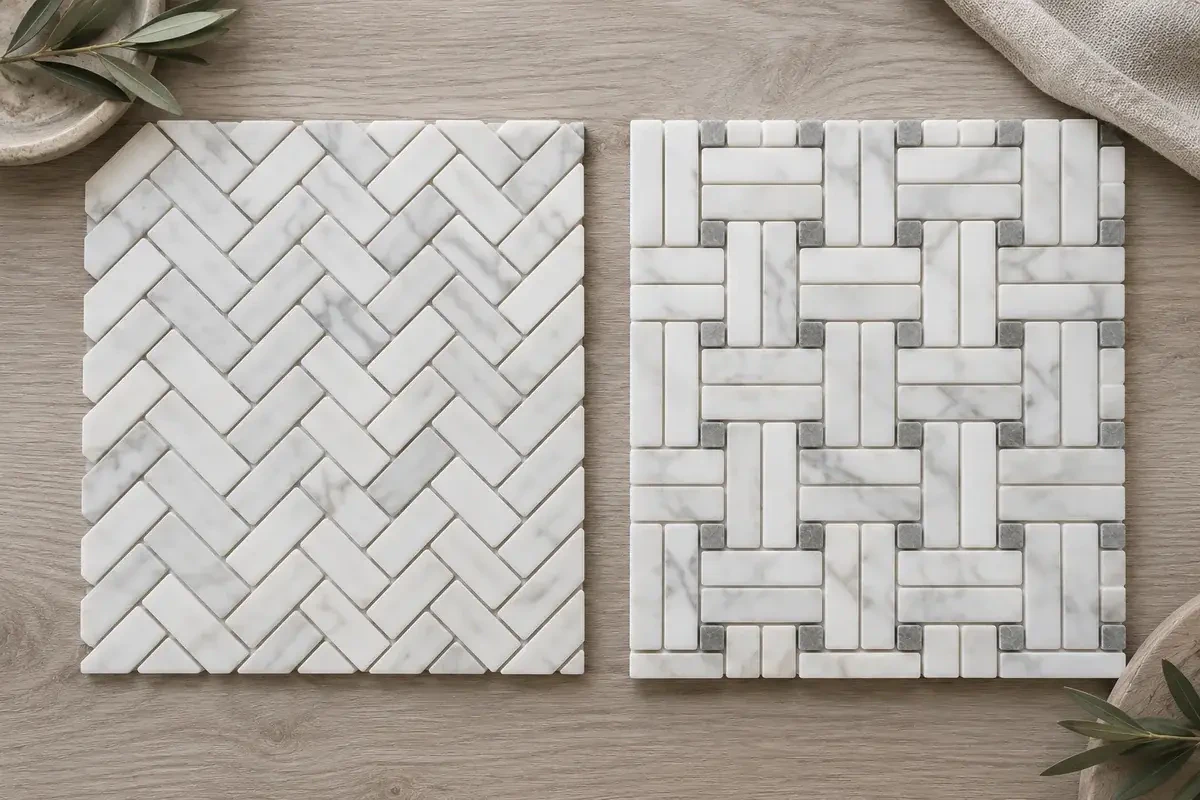
Different patterns create different amounts of visible jointing. Evaluate the grout in the actual layout rather than against a single stone piece.
Herringbone and Linear Patterns
Contrasting grout emphasizes the direction of small rectangular pieces. A closer match softens the zigzag effect and gives the stone more visual prominence.
Review the sample from normal viewing distance. A joint that appears subtle at arm’s length can form a strong pattern across a larger wall or floor.
Basket Weave and Multicolor Mosaics
Basket weave patterns may include contrasting inserts or multiple stone colors. Grout becomes another color within that composition.
The Avalon and Silver Drop Polished Basket Weave Marble Mosaic provides one example to evaluate. Ask whether the grout should relate to the main stone, the secondary color or an intermediate shade.
Curved and Geometric Designs
Curved layouts and small geometric pieces can create a prominent network of joints. Strong contrast may emphasize that network more than expected.
Include enough adjoining sheets in the sample to show how the design repeats. Check that the joints between sheets do not form unintended lines.
Joint Width and Surface Finish Also Matter
Joint width changes the amount of visible grout. The same color may have a restrained effect in a narrow joint and a more dominant presence in a wider one.
Confirm the intended spacing with the mosaic supplier and installer. Do not reduce joints solely to make the grout less visible without checking the product’s installation requirements.
Finish also changes the visual relationship. Polished marble reflects light differently from honed marble, which can affect how strongly the joints appear.
Review the natural stone finishes guide when comparing surface treatments. Use samples with the finish actually specified for the project.
Test Grout Compatibility with the Marble
Color approval and technical compatibility are separate decisions. A visually suitable grout must also be appropriate for the stone, finish, joint dimensions and application.
Prepare a small test area when selecting grout for marble and other soft stone. Review the dried appearance under actual site conditions before approving the grout.
Check for Scratching and Surface Changes
Do not assume every grout marketed for natural stone suits every marble mosaic. Product formulations and stone sensitivity vary.
Prepare a mockup or test area for polished stone installations. Some combinations can require additional preparation, so follow the relevant stone and grout manufacturers’ instructions.
Inspect the test for scratching, residue, changes in sheen and unwanted discoloration. If the result is unclear, consult the suppliers before proceeding.
Confirm Whether Pre-Sealing Is Required
Some marble installations may require a suitable pre-grouting treatment. This should be established for the actual stone and grout combination rather than applied as a universal rule.
Include any proposed treatment in the sample-board process. A sample prepared differently from the final installation may not provide a reliable comparison.
How to Prepare a Marble Mosaic Sample Board
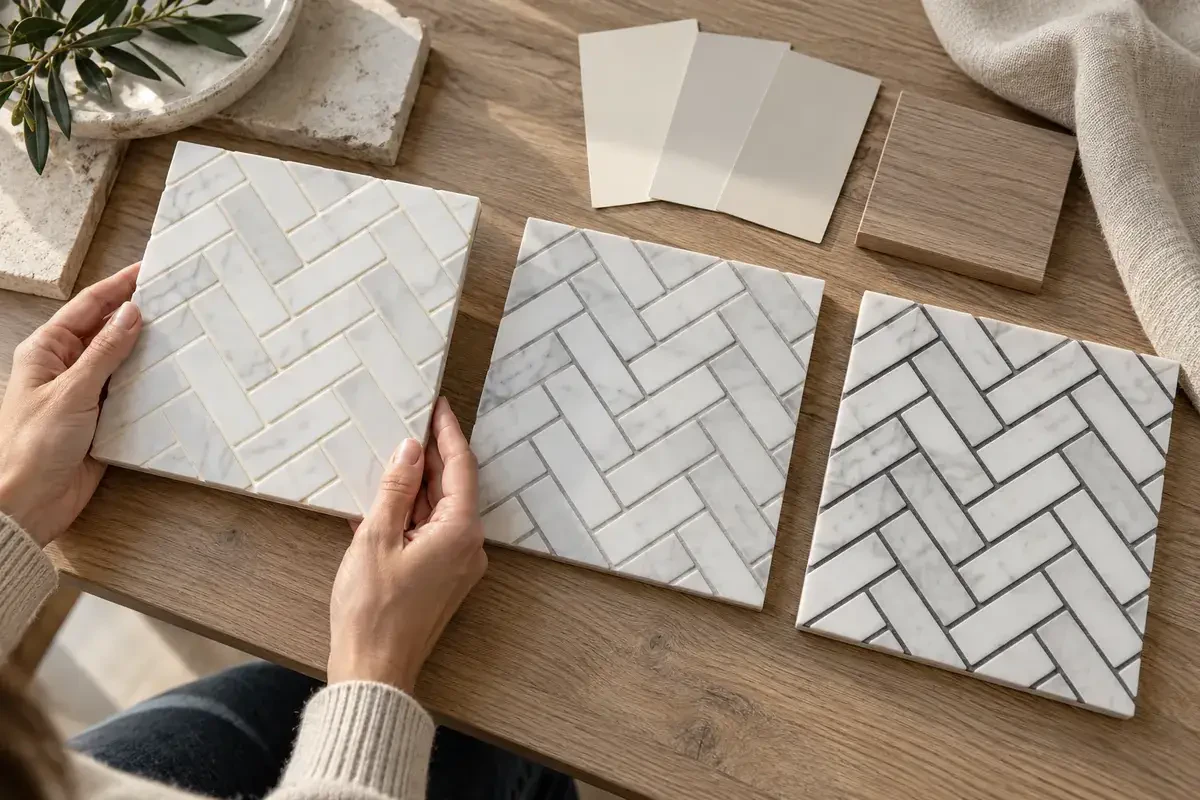
A useful sample should reproduce the proposed materials and workmanship closely enough to support a decision.
- Select representative sheets. Include the expected range of stone colors and markings.
- Include adjoining sheets. Show at least one sheet-to-sheet connection.
- Use the specified materials. Include the proposed setting material and any approved pretreatment.
- Compare shortlisted grout colors. Use separate panels or clearly divided test areas.
- Follow product instructions. Keep mixing, application and cleaning consistent.
- Allow the sample to dry. Assess it at the stage recommended by the manufacturer.
- Review in the project lighting. Check both daylight and artificial light where relevant.
- Record the approved combination. Retain the panel and document the product names and color references.
Test the proposed grout with the actual stone and assess the color after drying. Keep the approved sample as a reference for the final installation.
Common Grout Color Selection Mistakes
Avoid these decisions before the sample is approved:
- Choosing only from a printed or digital color chart.
- Matching one unusual piece instead of the representative stone range.
- Assessing grout while it is still wet.
- Testing a single sheet without its adjoining joints.
- Changing the grout formulation after color approval.
- Assuming darker grout will always look cleaner.
- Omitting the specified pretreatment from the test.
Use the current instructions for the exact grout product selected when planning the compatibility test.
Frequently Asked Questions
Start with shades that relate to the marble’s dominant undertone. Warm off-white, neutral pale shades and light gray can be compared on separate test panels.
Either can work. Matching the background tends to soften the joints, while relating to darker veins can emphasize the pattern. Confirm the effect in a grouted sample.
It may create the desired contrast, but compatibility must be tested. Do not approve a highly contrasting combination without checking for unwanted surface or color changes.
No universal answer applies to every product. Stone sensitivity, surface finish, joint width and the grout manufacturer’s instructions determine the appropriate selection.
Only where the product and complete installation meet the requirements of both applications. Visual consistency does not establish technical suitability.
Finalize Your Marble Mosaic and Grout Together
The right grout color for marble mosaic tiles supports the intended balance between stone character and pattern. Shortlist colors beside the actual mosaic, then approve them through a representative sample board.
Share your mosaic selection, intended application and preferred visual effect with Tureks. Coordinate the final grout specification with the installer and grout manufacturer before installation begins.